
One of my biggest irritations in life is finding a great print in a vintage shop and having to find a frame to go with it. Maybe I'm just overly picky, maybe I'm just being really cheap (likely the second one,) but it's just a pain in the butt to know I'll have to shell out an upwards of sixty bucks just so I can hang the damn thing on my wall.
Now, getting multiple cardboard cuts on my fingers is totally not a pain in the ass. Not in my world, apparently. So you know where I'm going with this...
So, this is a print I found and bought for the bargain price of $6. Yes, six whole dollars. That's music to my small-budget ears. Of course, it's unframed. I had planned to get a real frame since I came across an arsenal of coupons for Joann Fabric and Michael's. The truth is, I really just wanted to make something, so this print became my guinea pig.
So yes, I made this:

All it took was a bunch of tacky glue, fabric remnants, cardboard, and scissors. And measuring tape, I guess. You know, measure twice, cut once, whatever.
Here's how I did it:
First, you cut out a frame out of a big piece of cardboard, measuring (eyeballing) so it's the same width all the way around and slightly overlapping the edge of your print by like, a millimeter.

Then, you flip it over and cut out long strips of a light colored canvas-like fabric. I used duck fabric I found in the fabric remnants section. The strips of fabric should be wide enough to fold over to the back and glue down.
This procedure was done to the two short sides:
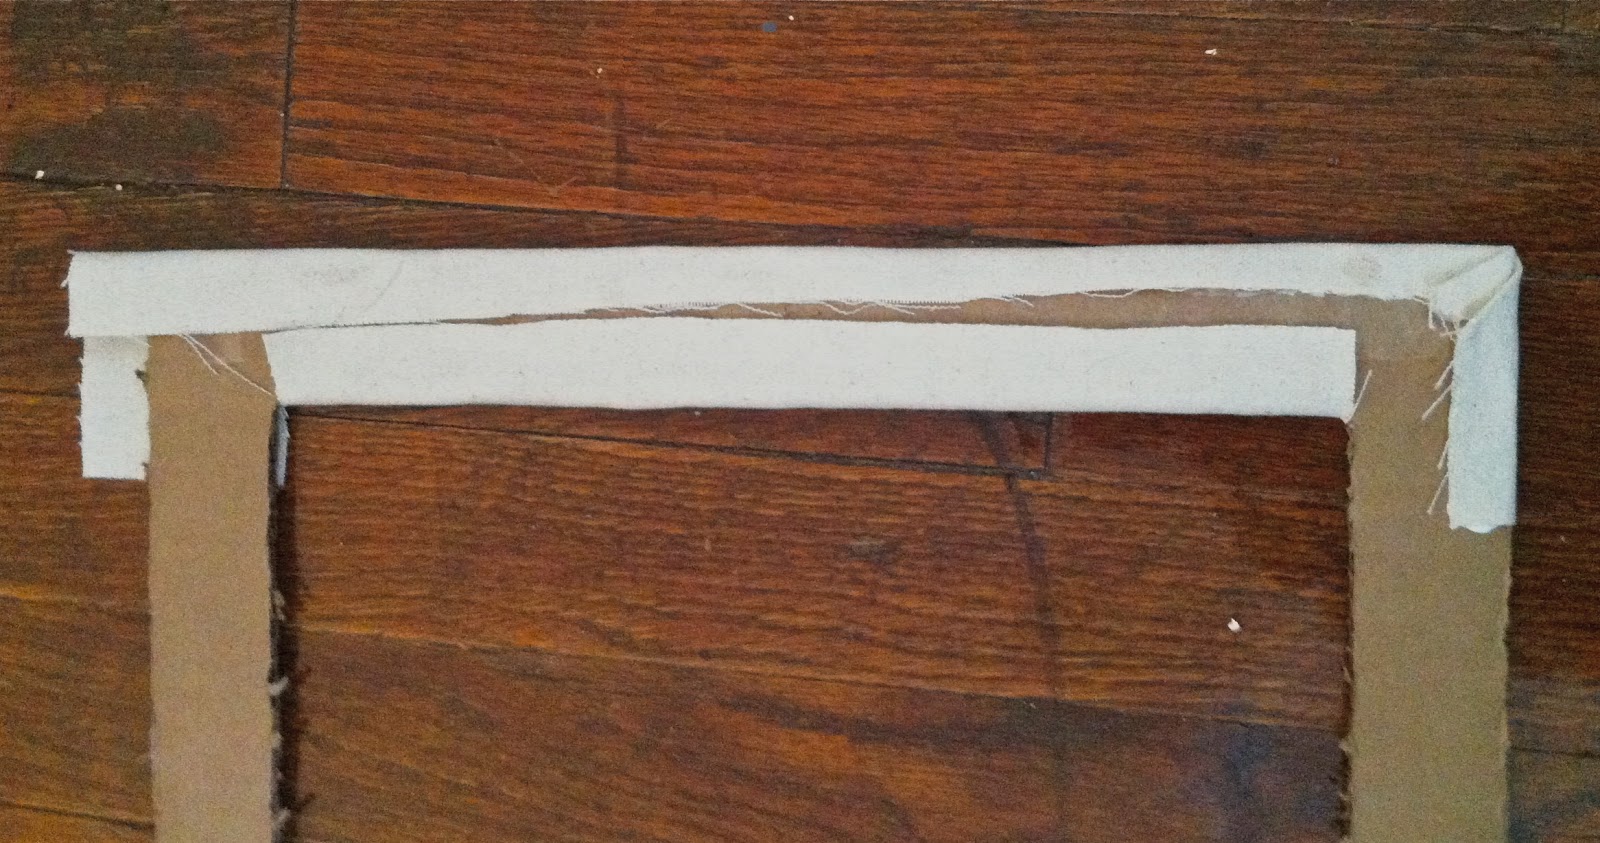

You can see I cut the inside corners so I could fold the fabric around the inside edge.
 I, then, cut two strips of fabric for the wider sides, but cut them wide enough so I could fold them in a diagonal line from the inside corner to the outside corner shown to the right, and I folded up the bottom, shorter edge and secured it.
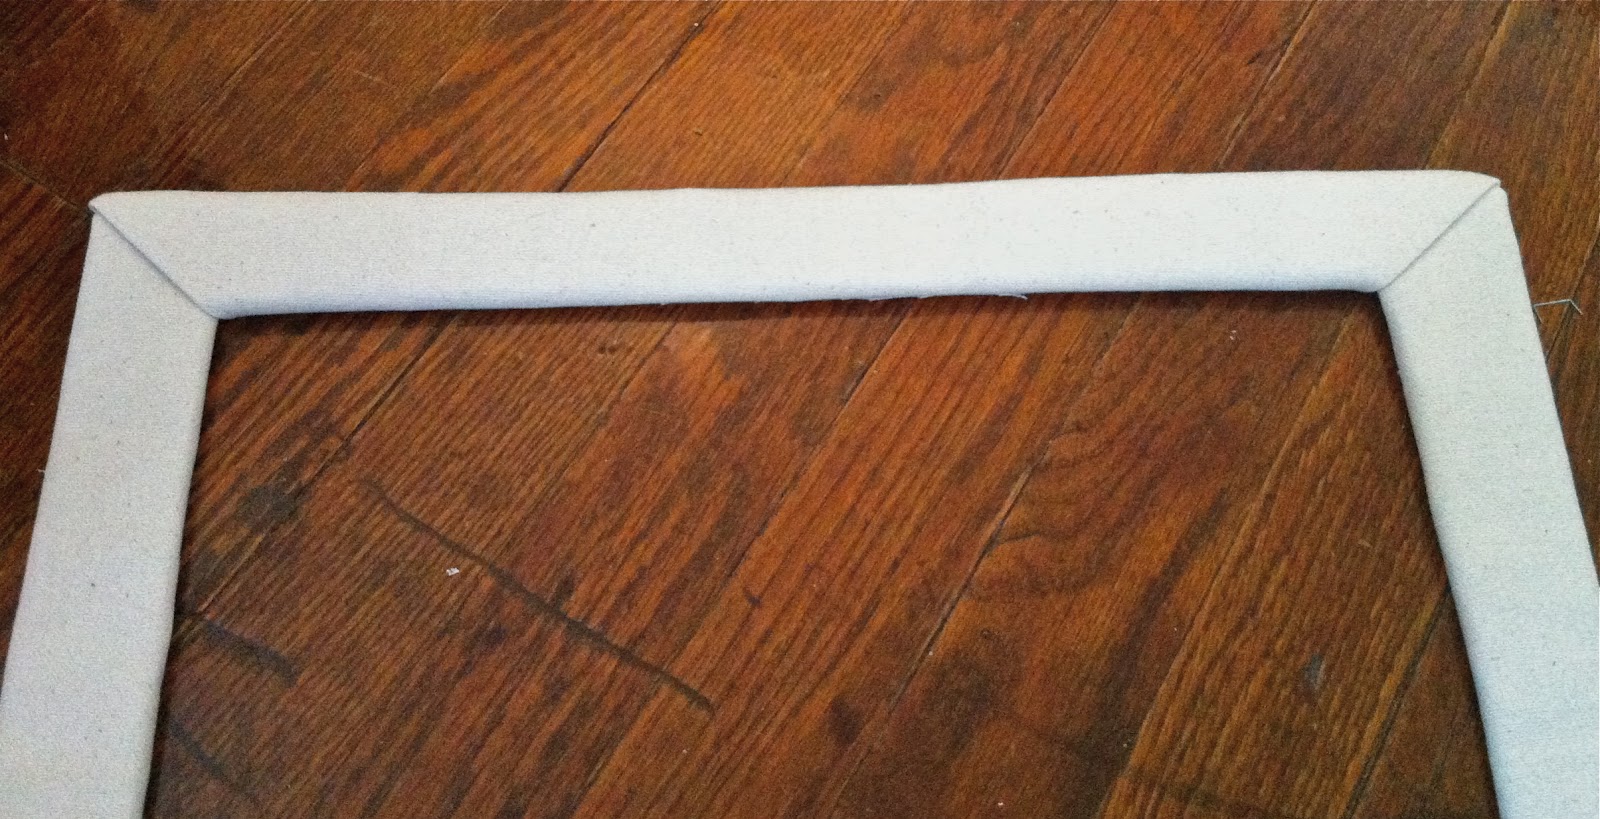
  I folded the top excess fabric down and stapled it in place. The staples didn't show through to the other side so I just left it, augmenting it with a bit of glue here and there.
This is what it looks like on the front side:
 Once the small frame was done, I cut out another piece of cardboard for the larger part of the frame, overlapping the smaller frame slightly; just like how the smaller frame overlapped the print. Since it was larger, I had to piece together strips of cardboard and staple them together. You probably would have a better looking frame if you were able to find a large piece of cardboard and just cut out a square in the middle. Using a different, contrasting fabric, I repeated the same process I did with the smaller frame. This fabric was a silky dark blue fabric which also provided a visual textural differences as well.
Before covering it with fabric, I stapled, on the back, a twist-tie that will be used as the hanger. It's using common household items at its finest!
Once the larger frame was covered, I put it all together. Typically, one would layer the large frame over the smaller frame over the print. However, when I tested that, I didn't like how it looked. I ended up placing the print underneath the smaller frame, but then, I put the two pieces on top of the larger frame, creating a slight pop-out 3D effect. I literally just taped it all together with packing tape, strategically placing them on corners and at intervals along the sides.
Once it was done, I realized I probably should've ironed the fabric-covered frames before putting it all together. It would eliminate all the folds and creases and evened everything out. Keep that in mind when you're doing this project.
All in all, the project took me about 2 to 3 hours. It took that long because I kept testing different ways of folding and gluing, so for you, it would probably take a little bit less. The configurations are endless. You can do a single big frame, or make multiple little ones to overlap, or use completely different kinds of fabric. The best part about this is you can make it exactly how you want it and not be limited by the ready-to-hang frames found at the store or feel the pain of emptying your wallet at the custom frame counter.
No comments:
Post a Comment